Saturday, December 1, 2012
Comments, Comments, Comments
I have noticed that there is alot of activity on my blog and that thrills me. If you have some ideas that you would like to share, then send a comment with a link and I would love to check them out. I am always looking for new work to do with the students.
Halloween Math
I know it is the beginning of December and I am posting some of my Halloween pictures. Oops! I was going to post some of my November/Thanksgiving pictures and I found some old pictures that didn't get posted.
 The students put the number pumpkins in numerical order and then place the correct number of pumpkin seeds on the cutout.


The students put the haunted house numbers in numerical order and then placed the correct number of plastic ghosts under the houses. I cannot remember where I got these cute numbers from. I am going to keep looking and then post a link when I find the website.

The students are putting the dot numbers out in numerical order. Then they count the dots and place that many pumpkin erasers on each dot. I printed these numbers from 1plus1plus1equals1 They offer a color and a b/w copy of these numbers. I printed off the b/w numbers and then colored the dots to match the Montessori bead stair.

Another use for the pumpkin erasers.
Friday, October 26, 2012
Pink Material Bags
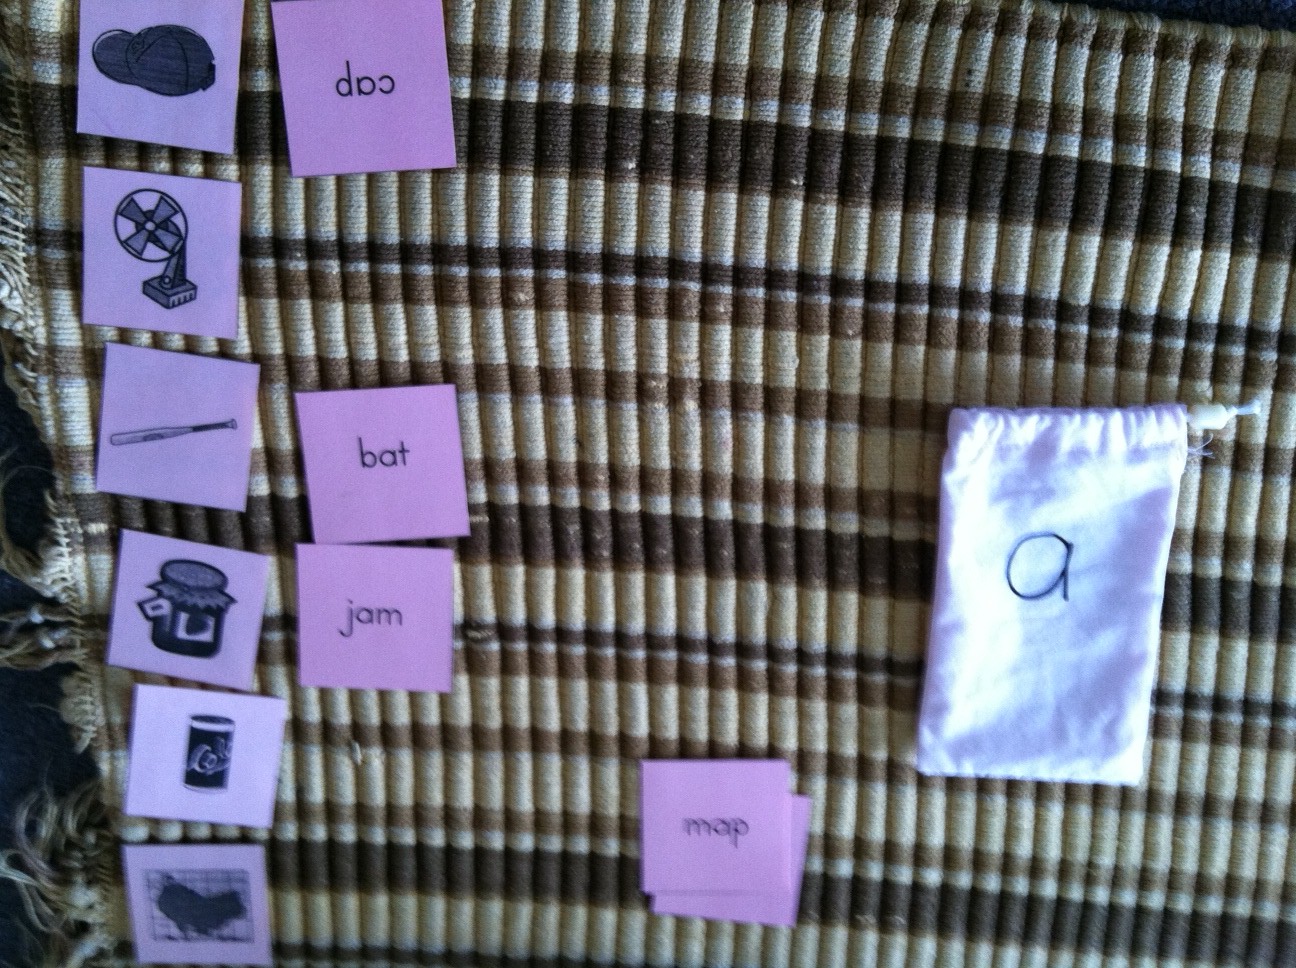
My aunt helped me make these cute bags for the pink material picture/word matching. There are 5 bags labeled with each vowel. Here is the "a" bag. The students lay the picture cards along the left side of the rug and the word cards are placed in a pile. The students sound out the word and then match it to the picture.
Continents Pin Pricks

I traced the continents from the continent puzzle onto construction paper that matched the colors from the Montessori continent globe. The students then pin prick the continents and then they will glue the pieces onto blue circles (hemispheres). Older studenst can trace the puzzle pieces on their own.
Nomenclature Puzzle Extension

The students place the puzzle pieces on the control then they traced each piece. After they traced the pieces they can then label the parts. The puzzles that we have are the tree, the leaf and the flower.
Brown Stair Extension


I traced the brown stairs and copied it onto brown paper. The students then cut the stairs out and glue then in order from largest to smallest. Another extension that could be done is to have the students trace the brown stair themselves and then pin prick the individual stairs.
Sink or Float

I collected a variety of objects for the students to test. I found a measuring spoon, a popsicle stick, a candle, a rubberband, a gourd, a metal spoon, a clothes pin, a paper clip, a penny, a baby food jar lid, and a unifix cube. The students poured water into the bowl and then placeed one object at a time in the bowl to see if it floated or sank. If it floated, then they dried the object off and placed it in the yes column on the felt. If it didn't float, then they dried the object off and put in the no column. I have also included a page with drawn pictures of the objects for the students to record which items float and which sink.
Sand Paper Letters Variation

After the students had been introduced to a group of letters then we play the knock, knock game. We lay the sand paper letters face down on the rug. Then the teacher knocks on one of the sand paper letters and the student says, "whose there?" Then they turn the letter over and say the sound of the letter. Here is a picture of the students doing the work on their own.


Halloween Practical Life Continued
Pumpkin Pounding


I drew a face on a pumpkin and then the students used a hammer to pound some golf tees into the pumpkin on the line. In the picture on the right I tried using real nails but the students had a hard time getting the nails out of the pumpkin when they were done so I switched to golf tees.
Pumpkin Guts

And a Halloween favorite, scooping guts and seeds out of the pumpkin.
Sunday, October 21, 2012
Pumpkin Paintings
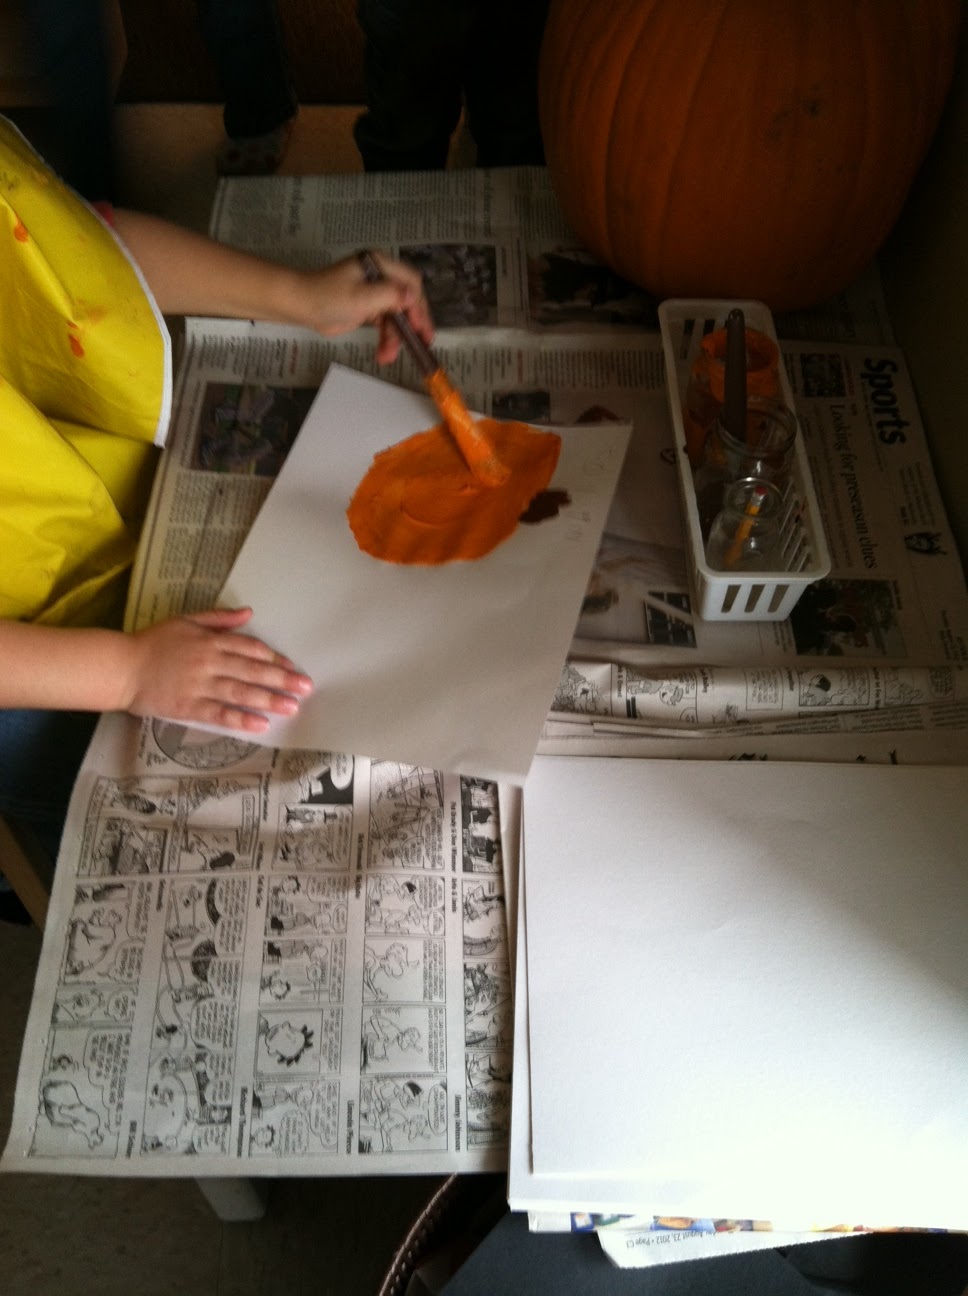
I decided to venture outside of my comfort zone and put a painting activity out during our extended day program (older students or students that don't nap have an extended work time while the other students nap). I placed a pumpkin on the table with orange and brown paint and had them paint a picture of a pumpkin. I can't wait to get them all hung up for everyone to see.
Halloween Sensorial
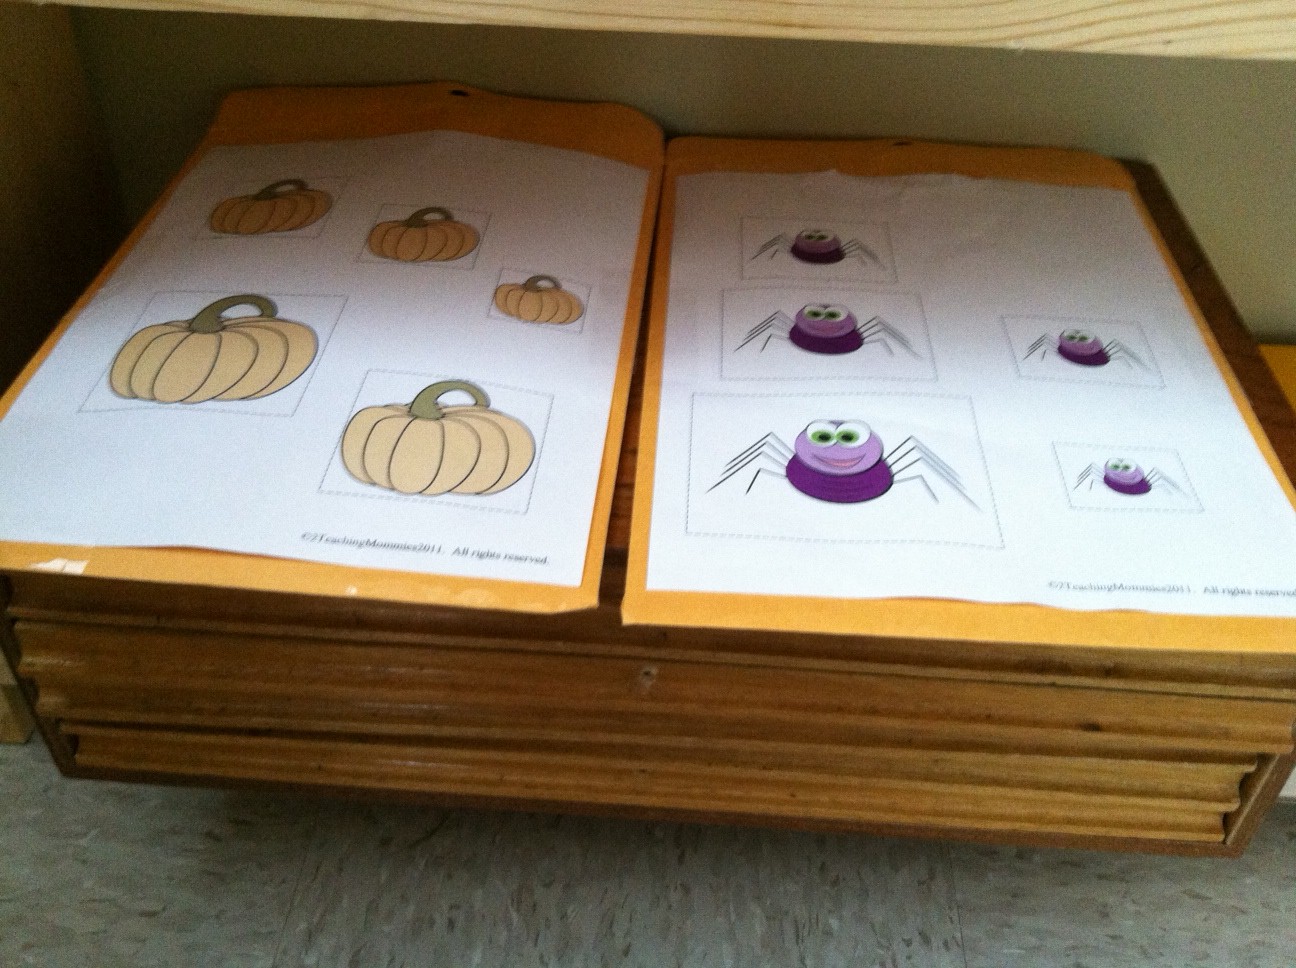
I got these cut printouts from 1plus1equals1. I stored them in a large mailing envelope for lack of a better place to store them at the time.

The students cut the pumpkins or spiders out.

After they have cut out all the pumpkins/spiders, they lay them out from biggest to smallest and then glue them down. The students love doing cutting and gluing work so that they can display their work around the classroom for others to see. They are so proud of their hard work.
Halloween Practical Life
I guess since October is half over I should probably post some of our Halloween themed works. I will start with practical life.


Cauldron spooning with popcorn kernels. I love these little trays that I found at Hobby Lobby. They are perfect for practical life work. I can't wait to buy some more.

Spiders on a web tonging. I just drew a spider web on a paper plate and set out some spiders with it. Since I took this picture I have exchanged the tongs for a pair of tweezers. Another variation could be to add a die. Have them roll the die and then place that many spiders on the web. Continue until all the spiders are on the web.

Skeleton sorting. I bought these stretchy skeletons at Wal-Mart and then I put a piece of paper in the bottom of a four section tray to match the color of the skeletons. The students just love this work.

Pom pom sorting. I used some Halloween colored pom poms and some votive holders to make this very simple but fun work. The students work with it all the time. I placed a removable label with a color circle, to match the color of the pom pom,s on each votive holder. I wish I had a Halloween themed bowl and votive holders for this work. I will be keeping my eyes open for some to add to this work. To make it a little more challenging you could add a spoon, tongs or maybe beginner chopsticks.

Batty spooning. I got the skeleton ice cube tray from The Dollar Tree and the bat pieces are from Target. I love their dollar section.

Pumpkin ice cube tray tonging.
 pumpkin seed pouring


pumpkin scrubbing
Saturday, October 6, 2012
Color Tablet Box 3 Variation

Saturday, September 22, 2012
Folding Towels

These fabric squares have lines sewn down the middle both ways. The students fold the fabric on each line. This teaches the students to fold washclothes and towels.
Color Sorting

Pom pom sorting is a BIG hit in our class

I found a four sectioned tray at The Goodwill. I then cut red, yellow, green, and blue paper to fit in the bottom of the tray. The students then sort the triangle shapes by color. An extention to this work is to have a triangle shape on paper squares with a blank line and small circle. Have the students color the triangle yellow and then write yellow on the line and write the number of yellow triangles. Repeat with red, green and blue. Have a control card with the color word on it so they can check how to spell it.
This is a variation from Miss Patty's Montessori Day
Pink Material Word/Object Match
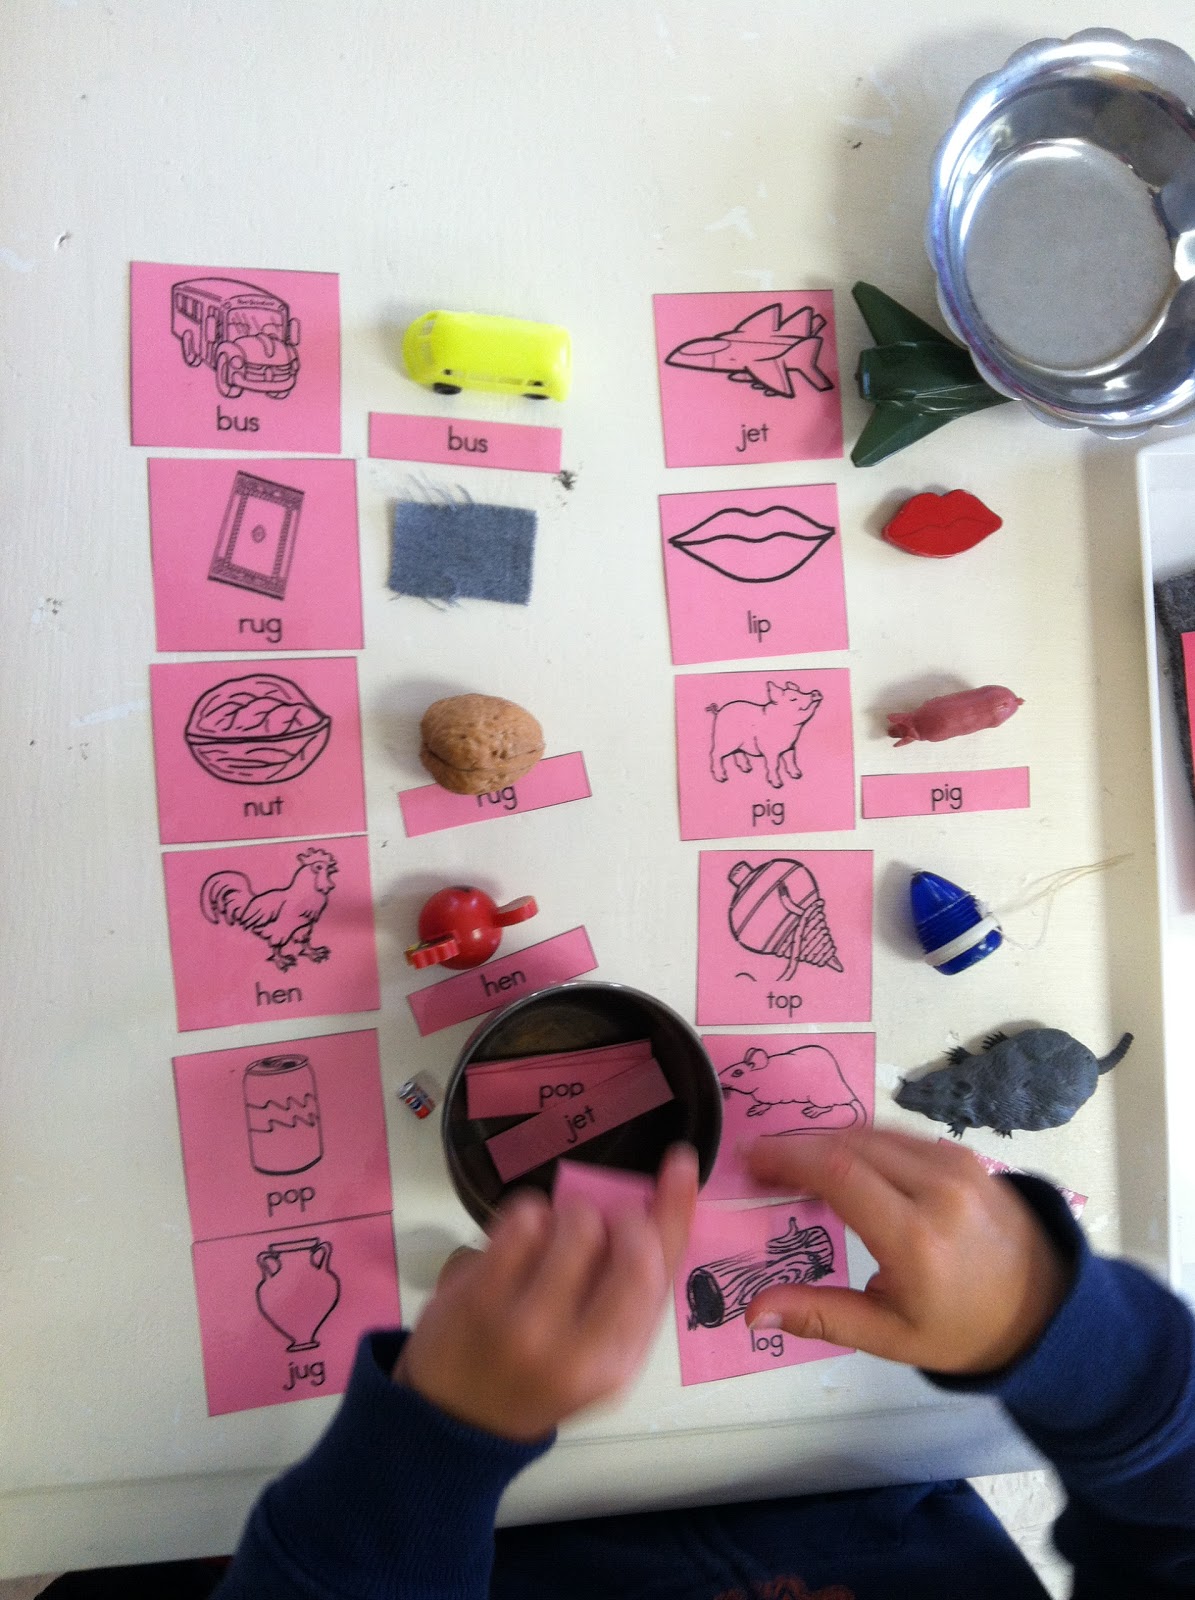
I found some objects that are CVC words. I then made some cards that had a picture of the object and the 3-letter word on them. I then printed just word cards. The students place the picture/word cards out and then place the object and word card with the picture/word card. Great beginning pink material work.
Metal Inset Variation
.JPG)
Here a student is making an egg using an idea card.

Here are the idea cards that I made for the students to use to get inspired to use the metal insets. The cards have really sparked a new interest in using the metal insets.
Apple Seed Counting

The students put the numbers in order 1-10 then place the correct number of seeds (black beads) on the apples.
Life Cycle of an Apple Tree

I presented the life cycle of an apple tree to the students (the cards that I used are not pictured). The students then cut out the pictures and glue them in the correct order. Free color picture cards of the life cycle are available at Montessori For Everyone

Magnetic/Non-Magnetic

I found a few items around the house and classroom to use for this work. Then I drew a picture of each item with the heading "What is Magnetic?" The students place the item in the yes column if it is magnetic and then they color the picture on the paper. If it isn't magnetic then they place it in the no column and cross out the picture on the paper. Items that I used were: crayon, rubber band, pipe, plastic strawberry, paperclip, magnetic letter, nail, bandaid, dice, checker, triangle tangram and a bell.
This work was adapted from Miss Patty's Montessori Classroom
Number Rods Variation

First I present the number rods in order and show them how to match the numeral to the rod. Then I mix the rods up and have them place the numeral next to the correct rod.
Making Shapes

For this work the students create the shapes and learn how many sides each shape has by placing the popsicle sticks on the lines of the shapes. Each shape is a different color and they have matching sticks. The hexagon is red and their are 6 red sticks. The shapes that are included in this work are triangle, square, diamond, pentagon, and hexagon. Colored match sticks could be used so that you are able to fit shapes with more sides on the paper. I was only able to go up to a hexagon because an octagon wouldn't fit on the paper.
Parts of an Apple

I cut an apple in half and showed the students the parts of an apple. I then placed the apple on a tray with a magnifying glass and put it on the science shelf for the students to observe.
.JPG)
I then presented the parts of the apple nomenclature cards and had the students make their own apple books by coloring one part of the apple on each page and writing the word at the bottom.
Color Words Spelling Tiles

The students use letter tiles to spell the color words. They just have to match the letter tile to the letters on each card. To make it more challenging you can print the cards without the letters. As an extension I have the students make a color book by coloring the crayon and writing the word on the line. I have included the files below so you could make your own set. When printing out the files print them in black and white otherwise all the crayons will be orange. When I made the file the crayons were in black and white but for some reason when I upload them to googledrive the crayons are orange. Crazy technology.
color word spelling: black and yellow
color word spelling: blue and pink
color word spelling: brown and gray
color word spelling: green and orange
color word spelling: red
color word spelling: white and purple
color word spelling blackline master
Sunday, September 9, 2012
Apple Tree Tonging

I made this apple tree and attached some red, green and yellow circle stickers and then laminated it. The students use tongs to place red, green, and yellow apples (pom poms) on the tree.
Handwriting Without Tears

A few years ago I attended a Handwriting Without Tears workshop. This is an exciting curriculum that teaches students about proper ways to write. This activity is the stamp and see work. The student places the card on the magnetic board and uses the magnetic lines and curves to form the letter. When they take the card off the letter is on the board and then they can trace the letter with the magnet pen.

Check out the Handwriting Without Tears website for more information about the curriculum and their workshops.
Hanging Bead Stair 1-9

Here is the hanging bead stair 1-9 and an extension sheet that the students can do. Once the students have been introduced to the bead stairs they can work on matching the beads to the numeral by hanging it on the hook under the number.
Here are some links to check out:
Montessori Counting with Hanging Beads Video youtube has alot of great videos on presenting Montessori materials
Homemade Montessori shows you how to make your own Montessori bead stair.
The Helpful Garden has free printables for the hanging bead stair
Alphabet Fishing

I got these lowercase magnetic letters from Lakeshore The consonents are blue and the vowels are red just like the moveable alphabet. They also have uppercase letters. I just tied a magnet to a dowel to make the fishing pole. I placed the letters on the copy machine and made a color copy. Then I glued the paper onto cardboard and covered it with contact paper. The students love fishing for the letters and matching them to the letters on the board. Even if the youngest students enjoy this work.

Subscribe to:
Posts (Atom)